Monday, July 25, 2016

Mushroom Fairy 05


This is where we start this week. I'm finally going to work on the fairy!


I decided that her colors needed to coordinate with the mushrooms. Not be the same, but not be opposed either. So, I've chosen to go with a gold!

To begin the process, I started with a color that would eventually become the highlights of her dress.

This is the same progression of colors that I start with all the time. The lightest possible tone of the color goes first.

I used a PC 915 Lemon Yellow, with a light stroke all over.


Now I can start to add some darker colors, which will bring the dress to life.

Using a Canary Yellow PC 916, I started to add more color into the areas that are more shadowed.


Then I picked up Sunburst Yellow PC 917 and filled in more color.  I make sure to leave the highlight areas alone. They still only have the lightest color, the Lemon Yellow that I started with.


Keeping this layering going, I added Goldenrod PC 1034.

Because these are all lighter colors, and the end result I'm looking for is a "glowing" gown, all the color additions I've done have been done in a very light stroke.


At this point I needed a little more shadow in some of the areas. So with a PC 945 Sienna Brown, I added a little more shadow in the areas that I felt were in the deepest shadow.


Here's a closeup view. You can see how all the colors have come together to create a nice glowing gown.


To complete the look, I decided that the belt should match the color of the mushroom tops.  Even though it's a very small section, I used the same process, working from light to dark.
I used the following to create the belt --
First --
PC 921 Pale Vermillion
then --
PC 924 Crimson Red
followed by --
PC 1009 Dahlia Purple
and a little --
PC Black Cherry in the deep corners.

Okay, here's where we stop this week.
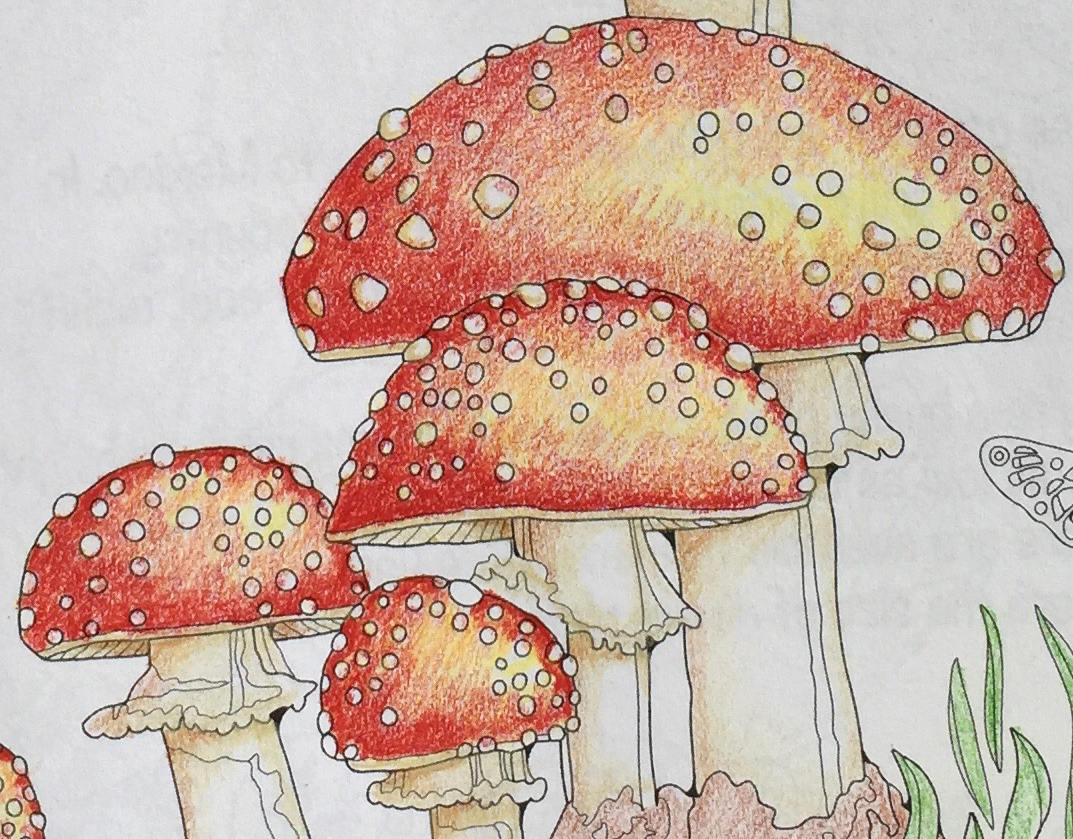
I really like the way the gold in the dress stands out over the red in the mushrooms.  It also helps to bring out the highlights in the mushroom caps.

Next week, flesh tones!!

Happy coloring.

Monday, July 18, 2016

Mushroom Fairy 04

Here's the page as I got it finished last week. The grass & the dirt behind it are at a pretty good place. So... It's time to get the mushrooms up to their level.


I used a PC 1031 Henna and added some more color to the underside of the Mushroom Caps & also to the Stems. And I couldn't help myself, so I added just a little more of that color to the dirt. It helps to bring the piece together.


Then I used Crimson Lake PC 925 to deepen the shadow side of the top of the mushroom caps. I also used it on the shadow side of the white "dots". If you look at actual pictures of this mushroom you will see that those "dots" actually protrude off the caps.  So adding a shadow helps to show that in this 2D version.

Don't hesitate to do some research on what the "thing" you're coloring looks like "in real life". I do it constantly.


The actual mushrooms are a much deeper red than what I've colored so far. To get them closer to the natural color I used PC 1009 Dahlia Purple to deepen the color on the shadow side.


Once the purple was in, I felt that they looked a bit harsh. They needed a little more color added to the highlight side to make the drawing look more real.

With a Pumpkin Orange PC 1082, I started with a light stroke in the red area and gradually added that color from the red into the yellow.
I think that now it has a rounder and softer look. I've added a close up view so you can see it better.
Here's where we are so far. I think that all the elements I've done to this point, are all at the same level. Are they finished yet??  I don't know for sure, but I think they're pretty close. Next week I'll have to start on the fairy. Even if I still don't know what colors she needs to be. 
I know it sometimes doesn't seem like we get very far. So here's a side by side comparison of where we started this week and where we finished up.  I think the changes made a world of difference. 
Thanks so much for watching. If you have any questions, don't hesitate to ask. 

You can now follow me on Amazon! I have an Author's Page there. 
Here's the link:  amazon.com/author/teri.rosario
Happy Coloring!

Monday, July 11, 2016

Mushroom Fairy 03

I hope everyone's week went well. Mine was a bit busy, but I did carve out some time to color. I hope you did too.
This week there may not, at first, look like I've done much coloring. But it's the little subtle details that help the piece look great.  It's also, the little subtle details that take the most time. But, as I tell all my art students,
"Good art takes time!"
So lets start.


I chose PC 1084 Ginger Root to add a bit more color to the tops of the sections of the dirt. I also used it, in a light stroke, to blend some of the dirt colors together. I think it helped the look.


Here's a closer before and after look.


Once I finished adding that color, the dirt looked too dull to me. So, I chose a PC 943 Burnt Ochre to add a bit more of a red tone. Here's what that addition looks like.
Since I had gotten the dirt sections up a couple of notches, it was time to work on the grass and bring it up to the same level as the dirt.
So a bit of Creme PC 914 for the highlights and some Apple Green PC 912 for the middle tones.
That still looked a bit flat and unfinished in comparison to the dirt. So I added some Dark Green PC 908 to the bottoms of all the grass.
Okay!! Now that's really starting to pop!  Just a bit more of a tweet to really make it dance.
Some Yellow Chartreuse PC 1004 should be just the thing it needs to take it over the top.

One of the things you should take note of is - You don't have to be fully finished with a section before you move on. What I've been doing here is working on one element at a time and bringing each up to a certain level. Then moving on to the next element and bringing that up to the same level as the previous element. But that doesn't mean that I won't be going back into each element and taking it up yet another notch.  -- Does that make sense?  

Here's the full page with all the dirt & grass changes. Once those changes/upgrades were made, the Mushrooms looked a bit flat. So, I'll be going back into that element to bring it up to the same level as the grass and dirt. You can keep going back and forth until you're satisfied with the outcome. 
Note -- It works best if you use a light stroke with your pencil as you begin coloring. You can make your pressure on your stokes harder as you go along.

If you have any questions or comments don't hesitate to use the comment box below. I'll get back to you as quickly as possible.

Until next week. Happy Coloring!

Tuesday, July 5, 2016

Mushroom Fairy 02

I hope all my USA friends had a great July 4th weekend! 
Now it's time to get back to business. 
This image shows where I left off last week. The basic undertones are now in. So, it's time to start layering in some more colors. 

Layering colors, whether you're using pencils, watercolor or oils, is what helps to give the artwork interest & depth. 


I started by adding color to the mushrooms. They will define where I go with all the other elements of this piece. So it's a good idea to get then going first.


I started with a Pale Vermillion PC921. Using a light stroke, and keeping in mind where my light source is coming from, I added it to the left side and the bottom edge of the mushrooms.


Here's a closer view. You can see how light my strokes are. Also notice that in the far left edges, I've added a second layer of this same color.

Since these mushrooms should end up a pretty deep red in color, I figured they really needed to start getting a lot darker. I used PC 924 Crimson Red and added that to the "shadow" areas.                                                                  


You can see in the close up how all 3 of the colors, layered in, are helping to produce the depth I'm trying to achieve.
I don't think that the mushrooms are quite done yet, but I think I'll move to something else and let them sit for a while. 

If you're not sure where to go next with a particular area of your artwork, don't over think it. Move onto another area for a while. Come back to it later. Usually it will work itself out.

With a Sienna Brown PC 945, I added some color along the bottom edge lines of the dirt at the base of the mushrooms.
Since I liked what that color was doing, I decided to get the shadow areas even darker. I used Dark Umber PC 947 to add even more shadows.

And here's where I've gotten so far. I think it's coming along nicely! Already has a bit of the 3 Dimensional look to it.

Thanks so much for watching. Spread the word to your friends who might be interested. And join me on Facebook for sneak peeks into my next Enchanted Coloring Book. Until next week.
Happy Coloring!